In the ever-evolving world of gaming, having a powerful and efficient gaming PC can make all the difference in your experience. Whether you’re a casual gamer or a hardcore enthusiast, building your own gaming rig allows for customization and optimization that pre-built systems often lack. This guide will walk you through the process of selecting components, assembling your PC, and ensuring it performs at its best.
Understanding Your Needs
Before diving into component selection, it’s crucial to assess your gaming needs. Are you interested in playing the latest AAA titles at maximum settings, or do you primarily enjoy indie games? Understanding your gaming habits will help you decide on the necessary specifications for your build.
Consider factors such as resolution and frame rate. For instance, if you’re gaming at 1080p, a mid-range graphics card may suffice. However, if you’re aiming for 4K resolution with high settings, you’ll need a more powerful GPU. Additionally, think about whether you plan on streaming your gameplay; this can influence your choice of CPU and RAM.
Choosing the Right Components
Now that you have a clear understanding of your needs, it’s time to select the components for your gaming PC. The main components include the CPU, GPU, RAM, storage, motherboard, power supply, and case.
The CPU is often regarded as the brain of the computer. For gaming, a quad-core or six-core CPU is typically sufficient. Popular choices include AMD Ryzen and Intel Core processors. The GPU, on the other hand, is crucial for rendering graphics. Brands like NVIDIA and AMD offer various options that cater to different budgets and performance requirements.
RAM is another important factor; 16GB is generally the sweet spot for gaming, allowing for smooth multitasking. For storage, consider a combination of SSDs for speed and HDDs for larger capacity. An SSD can significantly reduce load times in games, enhancing the overall experience.
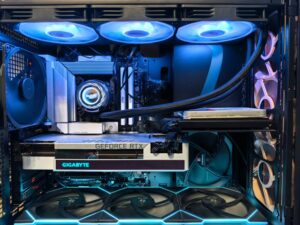
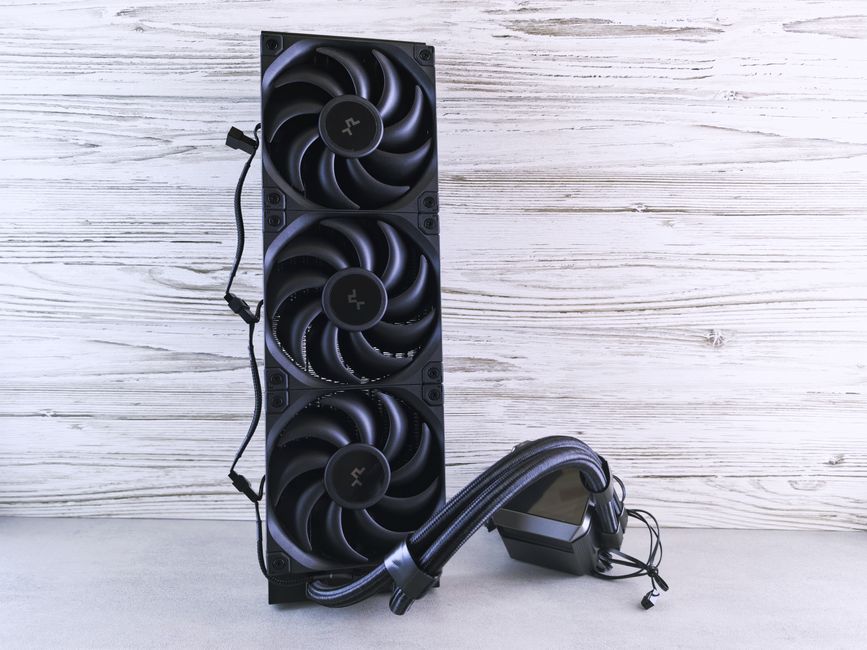
Don’t forget to choose a reliable power supply and a case that fits your components while allowing for good airflow. For detailed comparisons and recommendations, you can refer to a gaming PC builder site.
Assembly Process
Once you have gathered all your components, it’s time to assemble your gaming PC. Ensure you have a clean workspace and all necessary tools, such as a screwdriver. Start by installing the CPU and RAM onto the motherboard before placing it into the case.
Next, install the power supply, followed by the GPU. Make sure to connect all necessary cables, including those for power and data transfer. It’s essential to follow the manual that comes with your motherboard for specific instructions on connections and configurations.
After assembly, it’s important to run a few tests. Boot up the PC and access the BIOS to ensure all components are recognized. From there, install your operating system and drivers, and finally, your favorite games.
Optimizing Performance
Once your gaming PC is built, you may want to further enhance its performance. Overclocking is a popular method among gamers looking to squeeze extra power out of their components. This involves increasing the clock rate of your CPU or GPU, but it’s essential to monitor temperatures and stability during this process.
Regular maintenance is also key to keeping your PC running smoothly. Dust buildup can hinder performance and cooling, so it’s wise to clean your components periodically. Additionally, keep your drivers updated to ensure compatibility with new games and to enjoy the latest performance optimizations.
Conclusion
Building your own gaming PC can be a rewarding experience that not only enhances your gaming but also provides a valuable learning opportunity. By carefully selecting components based on your needs, assembling them correctly, and optimizing performance, you can create a powerful machine tailored specifically to your gaming style. Remember, the world of PC building is vast, and there is always more to learn and explore. Happy gaming!